
3" SST2.1 Suspension System - Toyota 4Runner 2010-2024
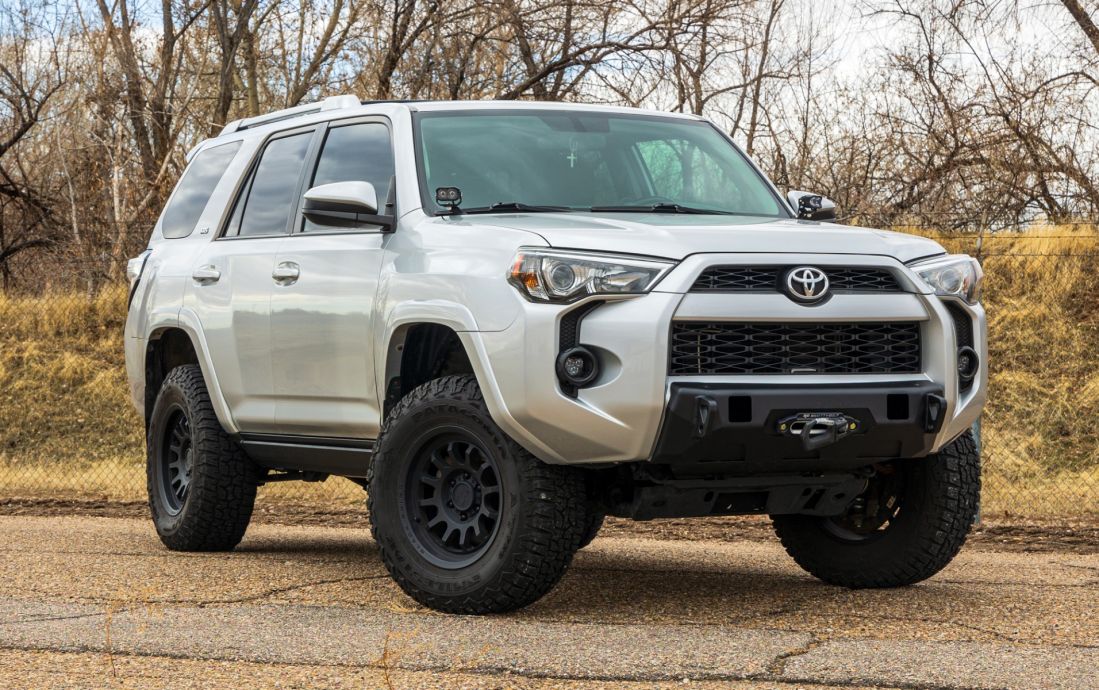
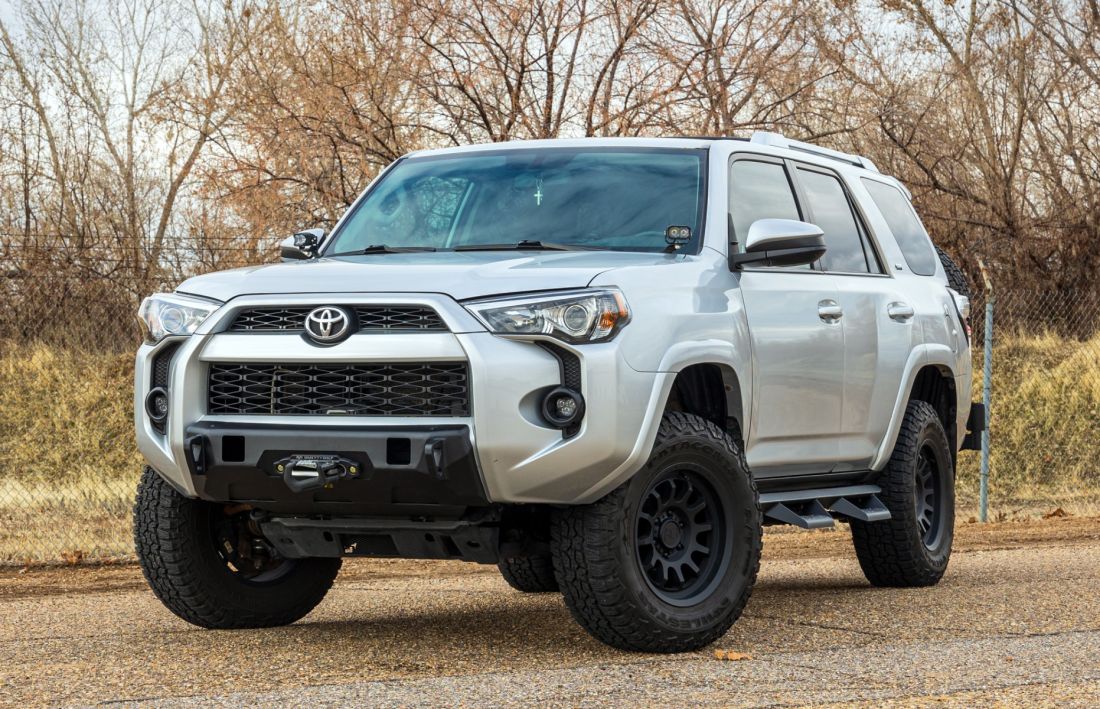
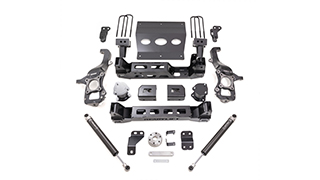
The 3" SST2.1 Lift Kit offers a bold lifted stance while preserving Toyota's legendary ride comfort. It's your gateway to larger wheels, superior ground clearance, and a commanding presence on and off the pavement.
- Achieve a 2.5" front lift, providing clearance for larger wheels and tires.
- Accommodates tire sizes like:
- Up to 33" tall tire.
- Up to 295/65R18 on an 18x9 wide +0 offset.
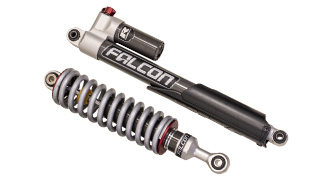
- Falcon 2.1 Monotube Dampers tuned for ultimate comfort and control:
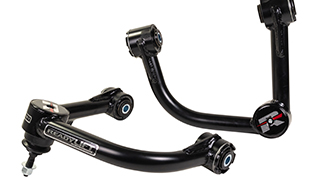
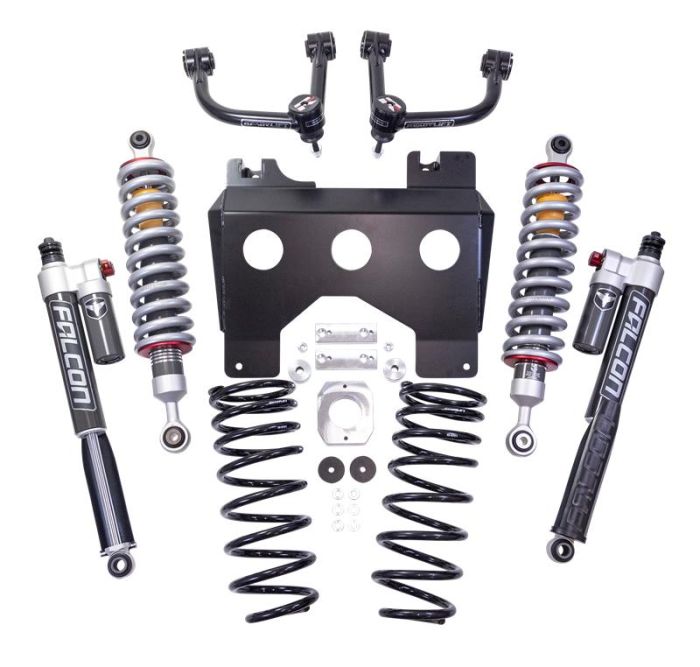
- Heavy-Duty DOM Tubular Upper Control Arms: Built tough with corrected ball joint angles for superior strength and articulation.
Note: Will not work on TRD Pro Note: Will not work with X-REAS Suspension Note: Will not work with KDSS Suspension
Description
The 3" SST2.1 Lift Kit offers a bold lifted stance while preserving Toyota's legendary ride comfort. It's your gateway to larger wheels, superior ground clearance, and a commanding presence on and off the pavement.
- Achieve a 2.5" front lift, providing clearance for larger wheels and tires.
- Accommodates tire sizes like:
- Up to 33" tall tire.
- Up to 295/65R18 on an 18x9 wide +0 offset.
- Falcon 2.1 Monotube Dampers tuned for ultimate comfort and control:
- Heavy-Duty DOM Tubular Upper Control Arms: Built tough with corrected ball joint angles for superior strength and articulation.
Note: Will not work on TRD Pro Note: Will not work with X-REAS Suspension Note: Will not work with KDSS Suspension
Toyota 4Runner owners know adventure isn't just a weekend hobby ?" it's a way of life. That's why ReadyLIFT developed the all-new SST2.1 Suspension Systems: purpose-built to deliver the perfect blend of aggressive styling, enhanced off-road capability, and everyday drivability. Whether you're crawling rocky trails or carving through city streets, this system gives your Toyota the lift it deserves?"literally.
Precision-Engineered for Peak Performance
4Runner (2010?"2024) | Kit #62-50340: The 3" SST2.1 Lift Kit offers a bold lifted stance while preserving Toyota's legendary ride comfort. It's your gateway to larger wheels, superior ground clearance, and a commanding presence on and off the pavement.
Why Choose ReadyLIFT SST2.1?
?" Bigger Tires, Bigger Adventures
- 3" lift increases clearance for up to 33" tires
- Optimized for 295/65R18 tires on an 18x9 +0 offset wheel
- Smart Suspension Technology (SST) allows for a no-cut, bolt-on installation
- DOM Tubular Upper Control Arms (4Runner Kit) with corrected ball joint angles for improved strength and movement
?" Tuned for On-Road Comfort, Built for Off-Road Control
- Falcon 2.1 monotube dampers deliver a smooth, confident ride
- Enhanced stability and handling at highway speeds
- Superior off-road performance over sand, rocks, and uneven terrain
- Durable 6061-T6 Aluminum shock bodies resist impact and corrosion
?" Form Meets Function
- Aggressive stance that turns heads and tackles trails
- Integrated front skid plate for added protection and a rugged look
FRONT SB DROP
JCK PT SPACER
SKD PLT
Smooth Body, Series 3 / Type 2, Single Finished/ Rear/Left, 3" Lift
Smooth Body, Series 3 / Type 2, Single Finished/ Rear/Right, 3" Lift
Coilover, Series 2 / Type 1, Single Finished/Front/Right, 3" Lift
Coilover, Series 2 / Type 1, Single Finished/Front/Left, 3" Lift
FRT BUMP STOP EXT
FRT BRKT SPCR
UPR CTRL ARM KIT
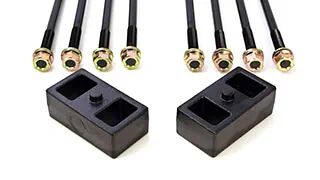
RR COIL SPRNG
FRT SKD PLT SPCR
FRT DIFF SPCR
33" Maximum tire diameter
33x11.50 for no rub on a 9" wide wheel with +6 offset
18" - 295/65R18
20" - 285/60R20
22" - 285/50R22
NOTE:‚ ReadyLIFT strongly recommends wheel/tire sizing not to exceed the maximum recommended fitment.‚ Larger tires and/or aggressive wheel sizing/dimensions may require plastic or metal trimming to prevent no-rub conditions.Tire Size Note: ReadyLIFT wheel and tire fitment recommendations are typically based on Wheel Pros wheels and Nitto tires. Due to product differences among tire manufacturers, tire specifications and dimensions including, but limited to, overall diameter, rolling diameter, tread width, aspect ratio, lug pattern, sidewall construction and inflation pressure, will vary meaningfully by tire and wheel manufacturer. Every tire and wheel combination should be test fit prior to installation. Consult your local installer to learn more about the right tire fitment for your application.
Ride Quality Note: When lifting a vehicle and installing aftermarket wheels and tires, a tire manufacturer's construction and material quality can alter vehicle ride quality. When increasing a vehicle wheel and tire size, most larger aftermarket truck and SUV tires are 10-ply (or more) E tires compared to typical OEM 6-ply C tires. This more rigid sidewall construction increases the perception of suspension stiffness often described as ride harshness. The ride, handling, traction, noise, fuel economy, and wear differences between All-Season, All-Terrain, Mud-Terrain, or Trail-Terrain type tires can be significant. Please take into account tire and wheel choice will generally have a meaningful impact on the ride & handling experience.
WARNING: This product can expose you to chemicals including Di(2-ethylhexyl)phthalate (DEHP), which is known to the State of California to cause cancer, and birth defects or other reproductive harm. For more information go to www.P65Warnings.ca.gov/product
SAEJ2492 WARNING: By installing this product, you acknowledge that the suspension of this vehicle has been modified. As a result, this vehicle may handle differently than factory-equipped vehicles. As with any vehicle, extreme care must be used to prevent loss of control or rollover during sharp turns or abrupt maneuvers. Always wear seat belts, and drive safely, recognizing that reduced speeds and specialized driving techniques may be required. Failure to drive this vehicle safely may result in serious injury or death. Do not drive this vehicle unless you are familiar with its unique handling characteristics and are confident of your ability to maintain control under all driving conditions. Some modifications (and combinations of modifications) are not recommended and may not be permitted in your state. Consult your owner's manual, the instructions accompanying this product, and state laws before undertaking these modifications. You are responsible for the legality and safety of the vehicle you modify using these components.
ADDITIONAL SERVICES & COSTS MAY BE REQUIRED
INSTALLATION ALIGNMENT NOTE
Your vehicle may require a wheel alignment following installation to ensure proper handling and tire wear.
Additional alignment costs may apply.
INSTALLATION HEADLAMP AIM NOTE
Headlamp aim and alignment must be checked and adjusted as necessary following installation to help ensure proper visibility and the safety of other drivers.
Additional headlamp adjustment costs may apply.
ADVANCED DRIVER ASSISTANCE SYSTEMS (ADAS) NOTE
If your vehicle is equipped with active or passive safety, collision monitoring, or driver assistance systems, these systems must be checked and adjusted as necessary following installation.
This includes, but is not limited to, camera-based and radar-based systems that may be affected by changes in vehicle ride height or suspension geometry.
Some vehicles may require OEM diagnostic equipment and factory-trained technicians to properly recalibrate ADAS functions.
Additional ADAS calibration costs may apply.
Have a certified mechanic do it for you!
 TIRE/WHEEL SIZING GUIDE